Don’t you love this time of year when we can get local fresh corn-on-the-cob? Yum. I
just stopped by a roadside market an grabbed a dozen.
Here are some tips of selecting, storing and preparing this fabulous summer treat.
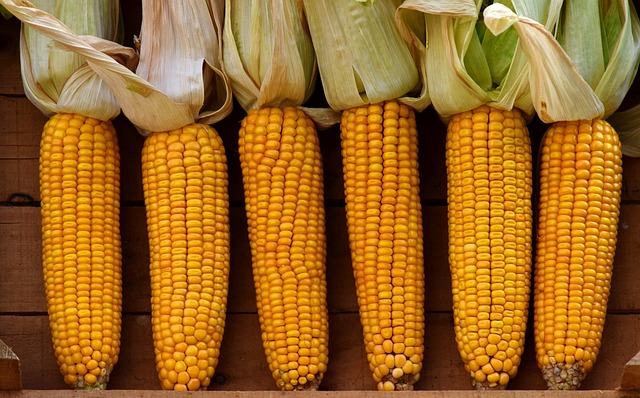
Purchasing: Many farm stands don’t want you to pull the husks down when picking out your corn. That’s OK. Keeping the husks on keeps the corn fresh. Select firm ears that have bright green husks. This husk should fit snugly around the ears of corn.
Immature corn will have blond tassels, and mature ears will have dark brown tassels.
You want plenty of visible silk. You can feel each ear gently through the husk without
peeling it to check for even, plump kernels.
Storing: Get corn as quickly from the farm or market to the table. After only a few hours at room temperature, sugars can turn to starch, causing loss of flavor and overall sweetness. Corn can be stored with the husks on or off. Either way, keep it tightly secured in plastic wrap or a plastic bag in the refrigerator until ready to cook. For best results use within 4 days. Raw corn cut off the ears will last only a day or two in the refrigerator before turning sour. Cooked corn that is cut off the ears will last in the refrigerator about 4 to 5 days.
Preserving: Corn can be safely and successfully preserved for longer term storage.
Check out the National Center for Home Food Preservation (http://nchfp.uga.edu) for
instructions. Corn can be frozen on or off the cob and it also can be preserved through pressure canning.
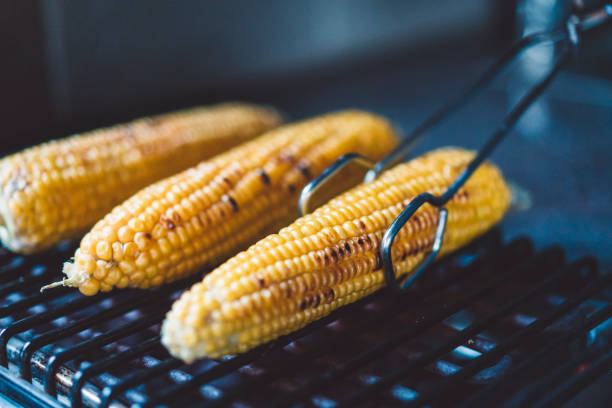
Cooking: The time-honored way to cook corn-on-the cob is in boiling water on top of
the stove. Fill large pot with enough water to cover the ears of corn you will be boiling. Bring to a boil, before placing your shucked corn in the pot of water. Cover pot and reduce to medium. Cook corn until the kernels are tender about 6 to 8 minutes or until desired tenderness. Some old family recipes add sugar to the water to sweeten the corn. This isn’t necessary. DON’T add salt to the water as this will toughen the corn.

